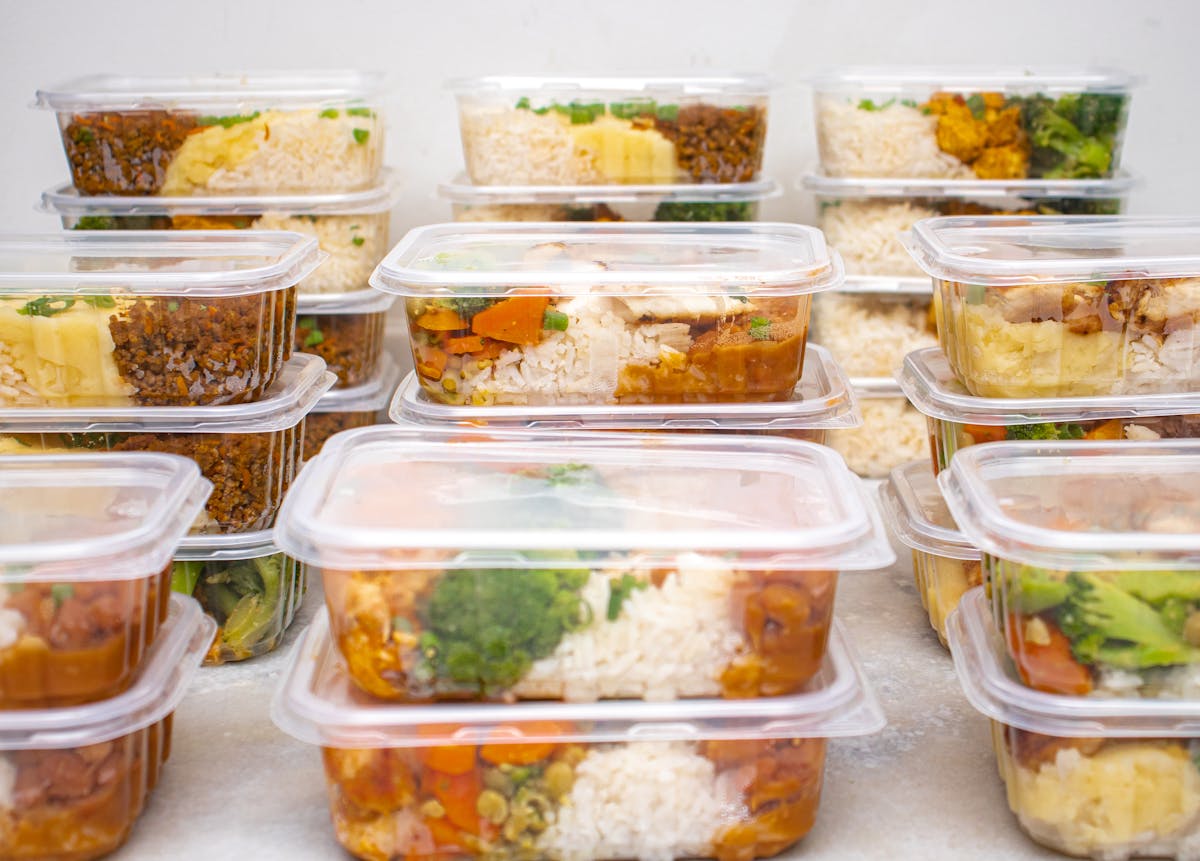
Let's be honest: between work, family, and everything else life throws at you, cooking a fresh meal for your pet every day isn't realistic. That's where batch cooking comes in. Spend two hours on a Sunday, and your pet has fresh, nutritionally consistent meals for the entire week — or even the whole month.
I've been batch cooking homemade pet food for years, and in this guide I'll share my complete system, including recipes that freeze well, storage containers that work, and a foolproof thawing and reheating routine.
Why Batch Cooking Works So Well for Pet Food
- Nutritional consistency — Every portion is exactly the same, making it easy to track what your pet eats
- Cost savings — Buying ingredients in bulk (especially proteins) can cut costs by 20-30%
- Time efficiency — 1-2 hours of cooking replaces 30-60 minutes of daily prep
- Portion control — Pre-portioned bags mean no guesswork at feeding time
Step 1: Choose the Right Batch-Cook Recipes
Not all recipes freeze well. The best batch-cook recipes have these characteristics:
- Sturdy proteins — Ground meats (turkey, beef, chicken) freeze and reheat better than whole cuts
- Stable carbohydrates — Rice, sweet potato, pumpkin, and oats hold up well; pasta can get mushy
- Moderate moisture — Very high-moisture recipes (soups) take up too much freezer space and can become watery
- Supplements added after thawing — Some supplements (fish oil, vitamin E, probiotics) degrade during freezing or reheating
Our AI recipe generator can help you create batch-cook-friendly recipes — just select "Batch Cook" in the prep time filter.
Step 2: Portion and Package
Here's my tried-and-true packaging system:
For Freezing (Long-Term Storage)
- Silicone muffin trays — Portion into 100-200g cups, freeze solid, then pop out and store in freezer bags. Perfect for single servings!
- Vacuum-sealed bags — Best for preventing freezer burn; portions stay fresh for 3 months
- Glass meal prep containers — Ideal if you have freezer space; go from freezer to fridge (not directly to microwave with the lid on)
- Ice cube trays — Great for freezing small portions of bone broth or pumpkin purée to add to meals
Storage Times
| Storage Method | Duration | Notes |
|---|---|---|
| Refrigerator (4°C / 40°F) | 3-4 days | Use within 48 hours for fish recipes |
| Freezer (-18°C / 0°F) | 2-3 months | Label with date and recipe name |
| Vacuum-sealed freezer | 3-4 months | Best quality retention |
Step 3: Thaw and Serve Safely
Food safety is critical with homemade pet food. Follow these rules:
- Thaw in the refrigerator overnight — never at room temperature. A 200g portion takes about 8-12 hours to thaw in the fridge.
- If you forgot to thaw, place the frozen portion in a sealed bag and submerge in cold water. Change the water every 30 minutes. Never use hot water.
- Reheat gently — warm to body temperature (not hot). Microwave in 15-second bursts, stirring thoroughly to eliminate hot spots.
- Add supplements after reheating — fish oil, vitamin E, probiotics, and taurine should be added to the cooled food just before serving.
- Refreeze? No. Once thawed, use within 48 hours. Do not refreeze thawed food.
My Weekly Batch Cooking Routine
- Sunday morning: Grocery shopping for the week's ingredients
- Sunday afternoon (1.5 hours): Cook in bulk — I use a large stock pot or Instant Pot for proteins and carbs simultaneously
- Cool completely (30 minutes) — important to prevent condensation in storage containers
- Portion into silicone muffin trays (15 minutes)
- Freeze overnight
- Monday morning: Pop frozen portions into labeled freezer bags; move 2 days' worth to the fridge to thaw
The Bottom Line
Batch cooking transforms homemade pet feeding from a daily chore into a weekly ritual that takes just a couple of hours. With proper storage and thawing practices, your pet can enjoy fresh, homemade meals every day — even on your busiest days.
Start with our free recipe generator, select "Batch Cook" for the prep time, and you'll get a recipe designed specifically for bulk preparation and freezing.